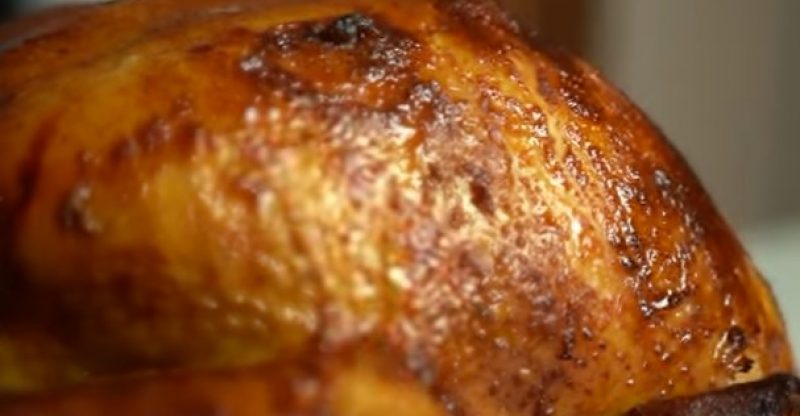
How To Grill A Perfect Turkey On Your Traeger Grill
How To Grill A Perfect Turkey On Your Traeger Grill
How Can You Achieve the Ideal Grilled Turkey Using Your Traeger Grill? Mastering the art of perfectly grilling a turkey can be challenging, mainly because determining its readiness isn’t straightforward. Unlike pork or beef, where tactile feedback by pressing the meat can guide you, turkey’s uniformly white meat offers no such cues. However, fear not! We’re here to provide you with advice that ensures flawless outcomes consistently.
The first thing you want to do is figure out your cooking temperature and time by using our handy chart below. Next, let’s talk about how to prolong your grill life and get the best flavour possible with some tips for prepping your bird before grilling. And finally, we’ll show you how to finish it off with some delicious sides to get the whole family cheering.
Grilling Turkey Instructions
When it comes to cooking your Thanksgiving turkey, there are a few things you want to keep in mind.
The first step is figuring out what temperature you’re going to cook the bird at. You’ll want to follow our guidelines below for that. The next thing you need to do is determine what kind of grill setup you have. If you have a gas grill, make sure your heat is distributed evenly over the surface of the grates. For charcoal grills, be sure to spread coals evenly across the bottom of the grill and replace them as they die out.
After that, preheat your grill for 10 minutes or so before cooking your turkey. This will help keep it juicy and tender on the inside. Finally, take some time to brush some olive oil onto your bird before putting it on the grill. This will help create that crispy skin that everyone loves.
We suggest starting out with 1/4 cup of olive oil, then brush it on liberally all over your bird’s skin before seasoning with salt and pepper (or any other seasonings).
Removing Giblets To Grill A Perfect Turkey On Your Traeger Grill
The first step to grilling a turkey is starting with a clean bird. Once the turkey is fully thawed, remove the giblets and any other innards from the cavity before cooking. This will not only help your bird cook more evenly, but it will also make it easier to clean up!
Once you’ve removed all of the giblets, rinse the inside and outside of the turkey with water and pat dry with paper towels. Brush butter or olive oil over the entire surface of the bird and season generously with salt and pepper. Make sure you get into all those nooks and crannies!
Turkey has a tendency to stick to grill grates, so be sure to use a meat thermometer (either an instant-read one or one that measures the temperature at different depths) during cooking to monitor for doneness (see our chart below). Keep reading for additional grilling tips!
Trimming Away Membrane To Grill A Perfect Turkey On Your Traeger Grill
The first step to making sure your grill is set up for success is to properly prep the turkey. This means trimming away any excess membranes and making sure the cavity is clean and dry.
What’s so important about trimming away those membranes? Those membranes are what keep the flavour of the turkey inside the bird, which means they’re primarily responsible for keeping it moist and delicious. By trimming them away, you’re allowing more flavorful juices to seep into the turkey as it cooks, which will result in a better-tasting dish.
To remove those membranes, just use a sharp knife to cut around them at their natural separation points, then peel or pull off gently. You’ll want to do this before you season or tie up your turkey, so it doesn’t get all over your hands!
Preparing To Grill A Perfect Turkey On Your Traeger Grill
Before you start grilling, there are a few things to know to make the process go smoothly.
Prepping your grill is key to getting the best flavour possible. You want to make sure that your grill is clean before you start cooking. This will ensure that no grease or food particles are left on to prevent flare-ups and smoke coming into contact with your turkey.
You should also be sure to give the whole grill a good scrubbing before you start cooking. This will remove any leftover bits of food or dirt that could end up flavouring your meat.
The last thing you want to do before grilling is removed the excess fat from around the vent area of the turkey, which can lead to flare-ups while cooking. Next, let’s talk about how long it takes for your turkey to be done!
Preparing Your Grill for the Best Flavor
In order to get the best flavour from your grilled turkey, it’s important to prepare your grill before you start cooking.
Here’s a list of things you need to do before putting the turkey on the grill:
-Clean out your grill. Remove all burnt bits and pieces, and scrape off any residue that may have built up over time. Don’t worry; we have a handy guide for how to clean your grill here.
-Oil your grates with vegetable oil or other oil before putting food on them. This will help give your meat a nice brown crust as well as prevent sticking.
-Raise the grates about five inches from ground level so you can collect all those delicious juices from beneath the bird as it cooks.
Cook Time and Temperature Chart To Grill A Perfect Turkey On Your Traeger Grill
*Cooking temp: 350°
-Cooking time: 3 hours
*Cooking temp: 425°
-Cooking time: 2 1/2 hours
*Cooking temp: 450°
-Cooking time: 2 hours
Conclusion
Turkey is a popular holiday meal, but cooking it at home can be tricky. Luckily, the process is much easier when you have a Traeger or other grill. This recipe will walk you through all the steps for cooking a bone-in turkey breast that has been seasoned with salt and pepper and indirect heat.


